I’m a big fan of DIY projects that have a pretty quick transformation.
Spray painting outdoor furniture is a very budget-friendly DIY project that can make a pretty big transformation for an outdoor space without a big investment.
This article contains affiliate links.
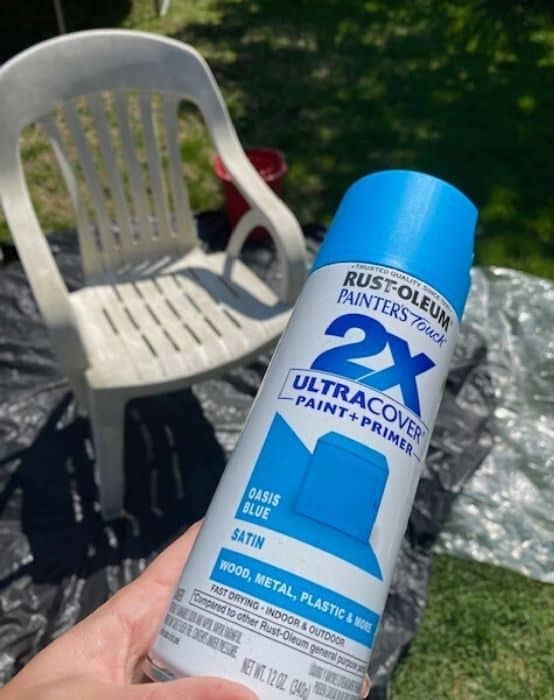
I decided that the old extra white plastic chairs in our backyard were perfect to experiment with.
The chairs already looked really bad before I started the painting project and they weren’t expensive. So there wasn’t big a financial risk beyond a can of spray paint.
Spray Paint for Plastic Chairs
I choose the 2X Ultra Cover Gloss Spray by Rust-oleum after some online research because it included the primer and paint in one can.
I’m all about reducing the steps with quicker results.
This type of spray paint can be used on plastic, wood, and metal.
My color choice was “Oasis Blue” because I wanted something bright and beachy.
I love bright colors and my favorite color is blue, which will be even more evident once you see my other painting projects.
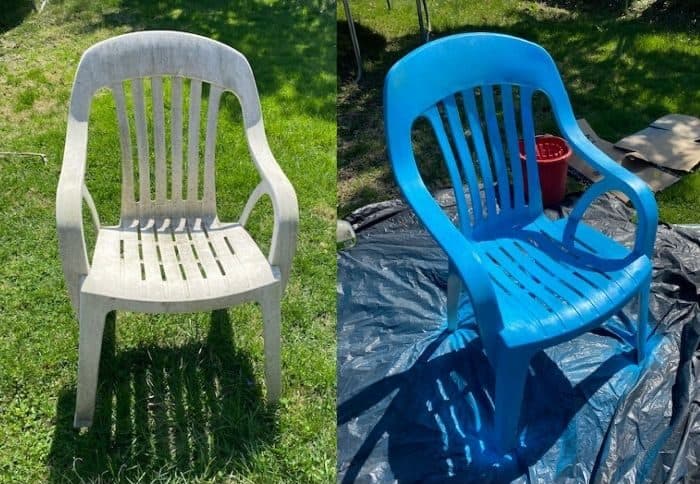
Steps for Painting a Plastic Chair
- The first thing that I did was clean the plastic chairs. I just used soap and water and then dried them with a towel afterward.
- Next, I placed the chair on a tarp before spraying.
- Make sure that you choose your project on a sunny day without much wind or you will waste a lot of your paint.
- The manufacturer recommends that you spray 2 or more light coats a few minutes apart.
- You’ll want to shake the can throughout the painting process.
- Spray the chair continuously from 10-16 inches from the surface when you spray with a back and forth motion.
- You’ll use 1 can per chair. I recommend ordering extra so that you can easily do touchups if you need to.
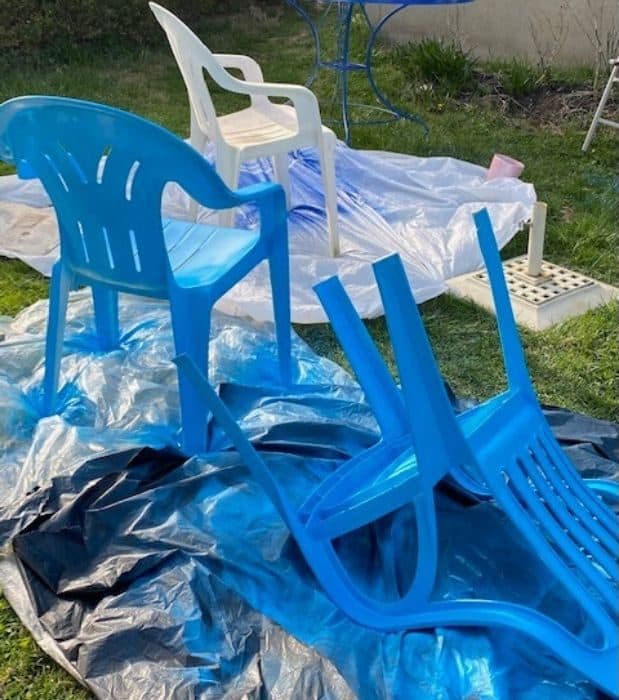
- When the chair was dry I flipped it over so that I could easily spray the underside while applying the additional coats.
- You’ll need to allow more time for drying in cooler temperatures
- The paint typically drys in about 20 minutes
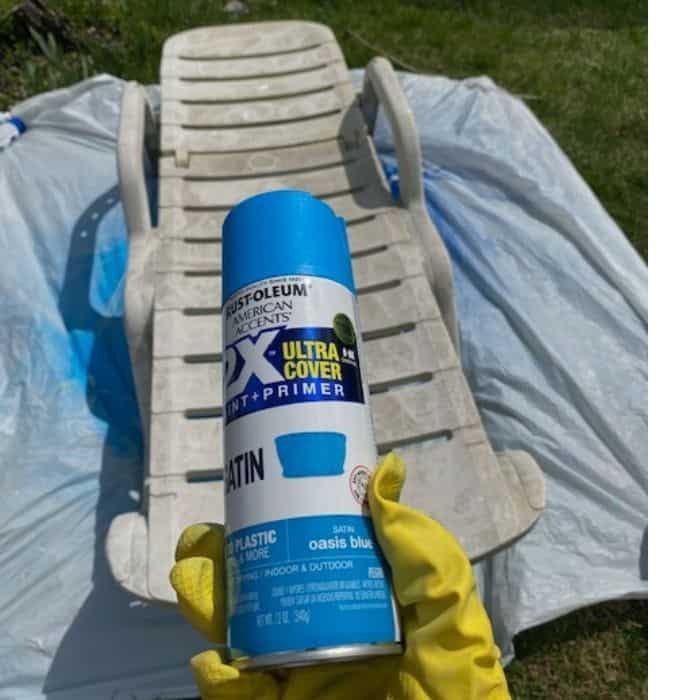
Spray Paint a Plastic Lounger Chair
After I successfully painted the plastic chairs, I decided to paint the old white plastic lounge chair. The lounge chair had also lost its’ luster and needed some new life.
I cleaned the lounger prior to applying the paint but you really can’t tell because the texture of the lounge chair was no longer smooth.
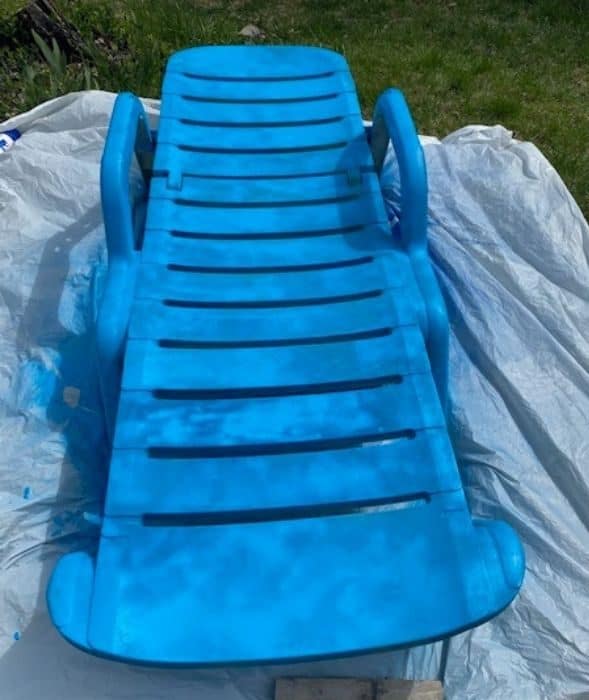
For the color, I opted again for “Oasis Blue.” I had to apply several coats on the lounger because it needed the extra coverage for the porous sections.
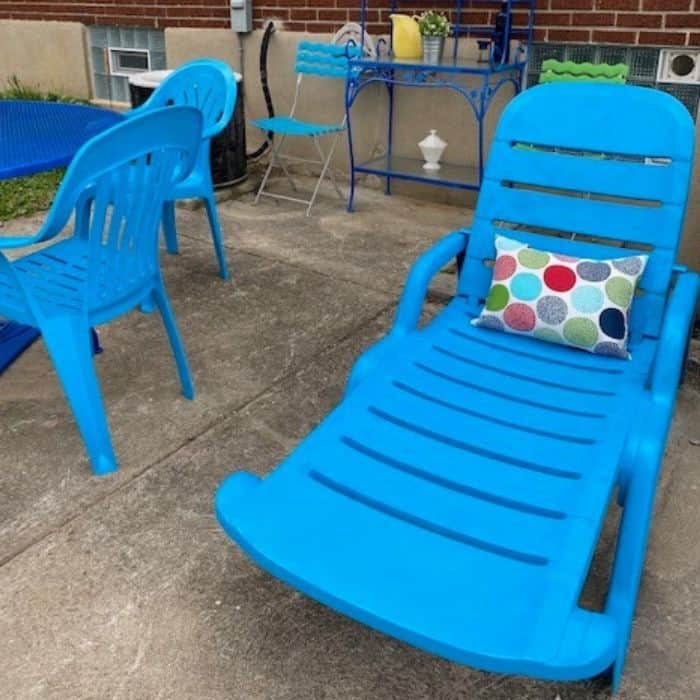
Once again the outcome was WAY better than what it looked like before.
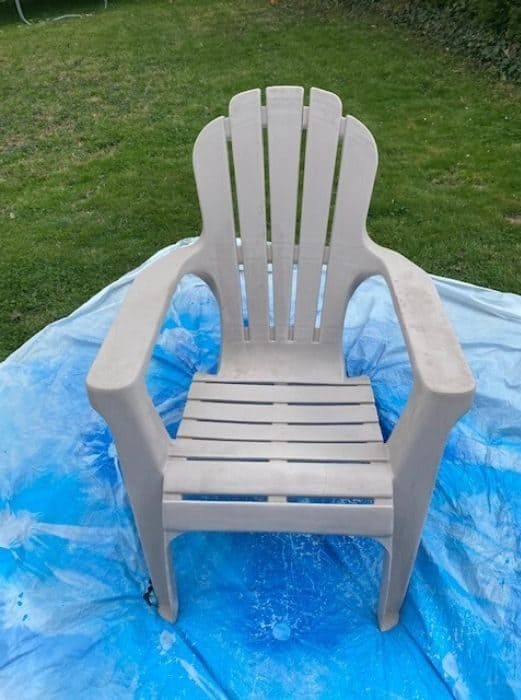
After I had success with the old plastic chairs, I decided to also spray paint the plastic Adirondack chairs on my front porch.
They were a tan color and pretty bland.
I had more confidence in my spray painting ability because of the results from the other plastic chairs. That gave me the confidence that the plastic Adirondack chairs would also turn out ok too.
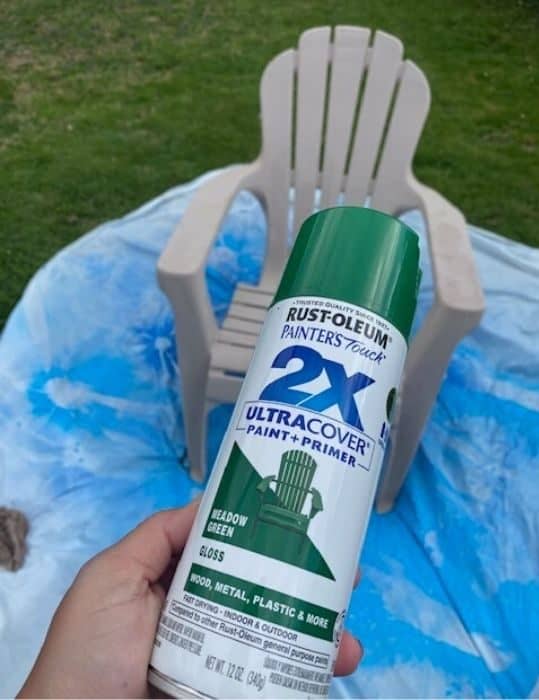
Spray Painting Plastic Adirondack Chairs
I applied the same method for the Adirondack Chairs that I used for the other plastic chairs. Once again I opted for the Rust-oleum Painter’s Touch 2X Ultra cover paint + primer Gloss in “Brilliant Blue” and “Meadow Green.”
It’s important that you turn the chair over so that you can easily paint the backside too. I applied a few coats of paint for each chair and loved the final results.
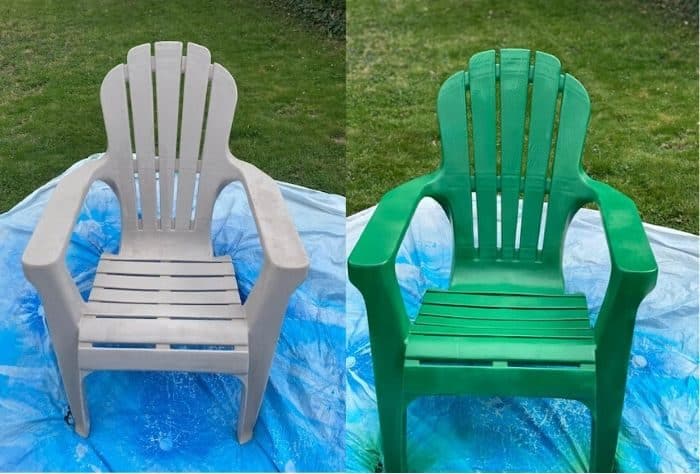
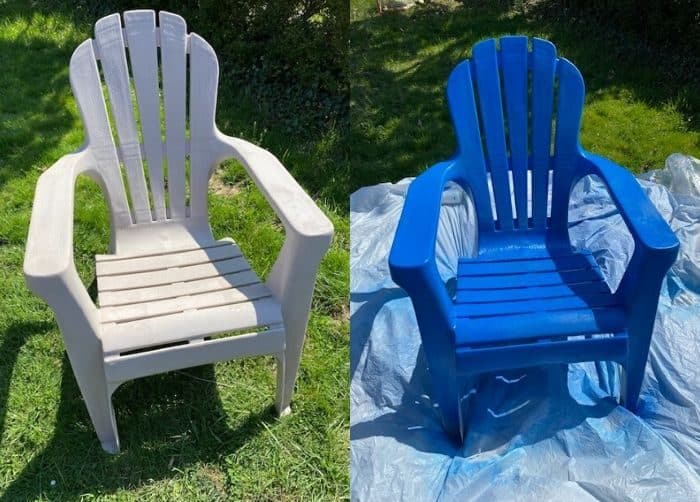
“Brilliant Blue”
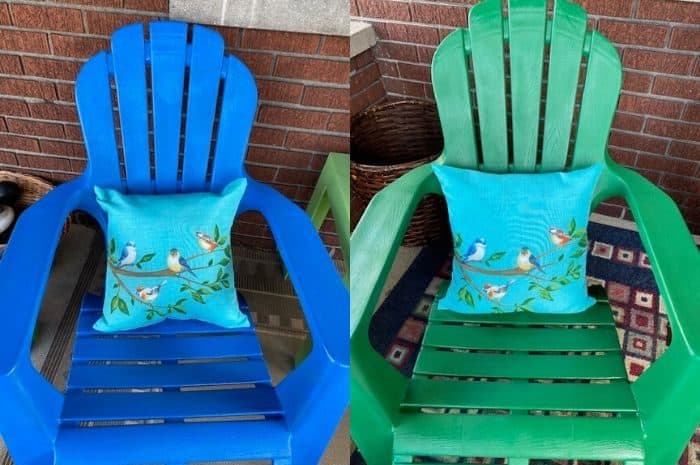
I ended up painting 2 Adirondack chairs in each of the colors. I loved that my inspiration pillows looked great with both colors.
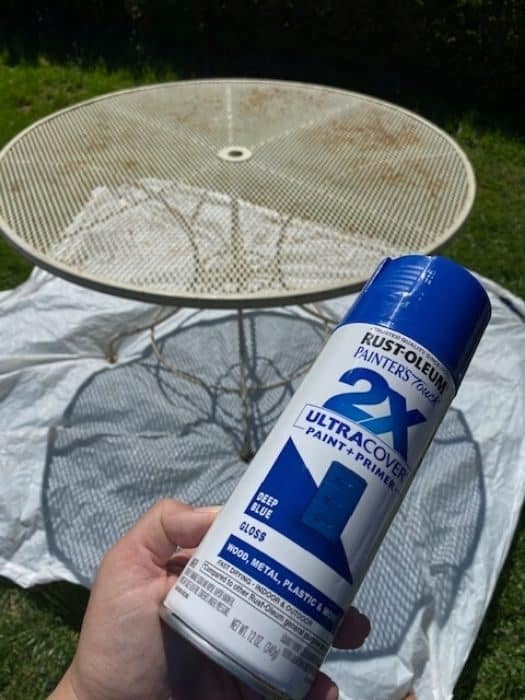
Steps for Painting a Metal Table/ Outdoor Furniture
- If you have rust on your metal table or outdoor furniture, you will want to sand the furniture first with a wire brush or sandpaper.
- Next, you want to clean and dry the table.
- Place the table on a tarp and shake the can before applying the first coat of paint. (I recommend wearing gloves so that your finger doesn’t get spray paint on it)
- After my first coat dried, I flipped the table over so that it was easier to spray paint the legs.
- You’ll want to shake the can throughout the painting process.
- The brand recommends spraying 2 or more light coats a few minutes apart.
- Spray the table with a back and forth motion from 10-16 inches from the surface when you spray
- If you are painting a fire pit or a grill you will want to use the high heat spray paint instead.
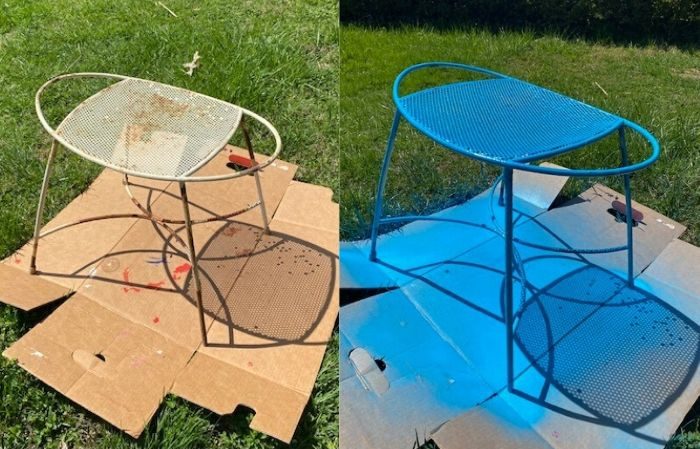
Painting Projects Before and After
My first metal project was a footstool. It so looked horrible so I had little risk. I had to sand it first, clean it and then I ended up painting it “Oasis Blue.”
I like to start with smaller projects and then work my way up to the bigger ones to build a little more confidence.
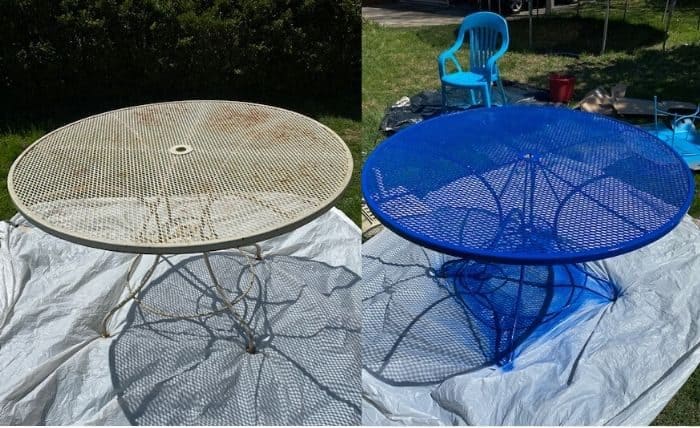
For my metal table, umbrella stand, and plant rack I originally used the “Deep Blue” Gloss.
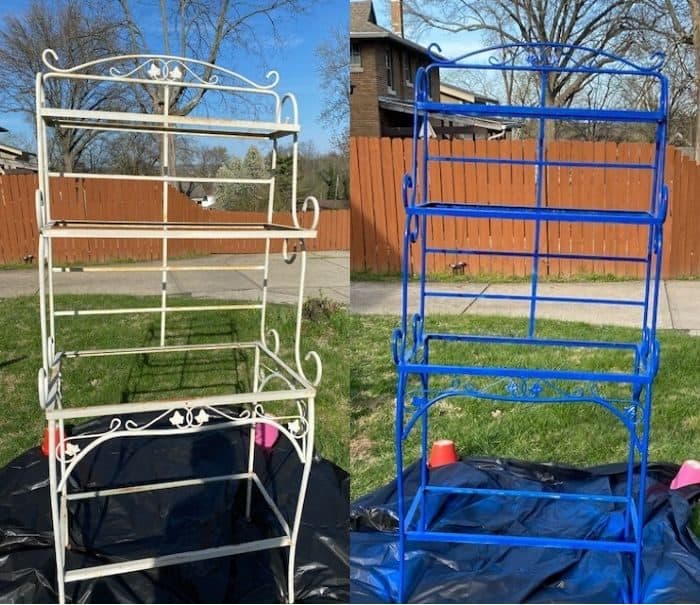
I had two cans of paint and found that I needed more. I had extra cans of the Brillant Blue and ended up creating more of an ombre with both colors.
The spray paint comes in 12 oz. cans and it doesn’t hurt to buy extra so that you don’t have to go back to the store to complete your project.
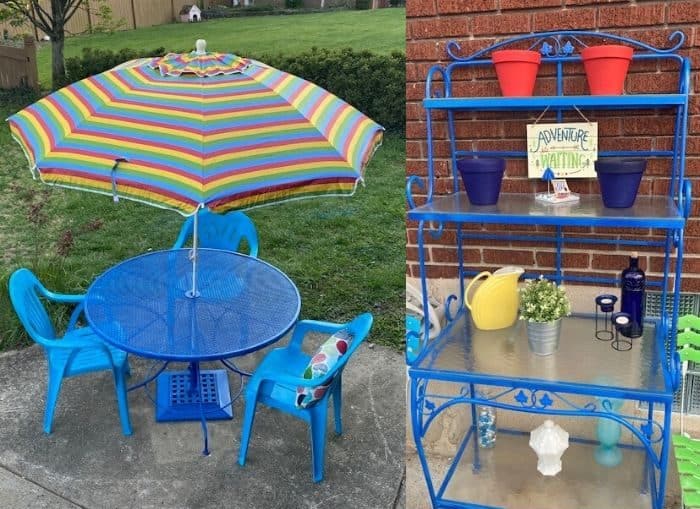
The best part about completing these painting projects was the inspiration to reenvision the spaces.
These projects had previously been a low priority of mine because I typically prefer traveling over staying home.
I love that I now have fun colorful outdoor furniture in my backyard and my front porch. I added a few colorful outdoor pillows, table umbrella, decor that I had inside, and I also painted a few pots.

You also probably noticed that my flower pots are empty in the picture. Learning how to keep herbs and flowers alive will be next on my list. Stay tuned.
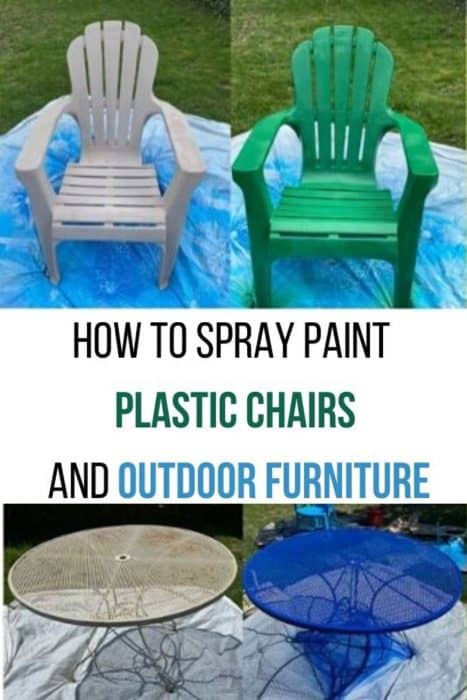
Save this article for later. Pin the image below>>


I agree with reminding to wear a mask. I spray painted my chairs and got really really dizzy had to sit in fresh air for bout 30 minutes before it went away. Then got a major headache. Blew my nose and had lots of paint came out lol. Your chairs look great 🙂
Everything looks great! I love how spray paint can transform anything! Just want to put a reminder out there for everyone how important it is to be sure not to inhale the fumes while spray-painting as it can be lethal. Recently I wore three face masks during an outdoor project and could still smell the spray!
The table and flower stand have held up well. The umbrella stand base needs another coat around the edges and some of my plastic chairs need a little retouch in a few places. My lounge chair held up well too. All of the furniture stayed outside during the winter and we got a few snowstorms.
Hi! Just wondering how these have held up? I’m doing my mailbox and am looking for reviews on the longevity of the rustoleum paint. (I’ve used Krylon with excellent results.) Thanks!
I was looking for ways to paint my plastic lawn chairs. After reading this article I used Rust-Oleum paint. It works magically. The shine and finish of this spray paint brought glory to my lawn chairs. I must suggest using this spray paint it’s actually worth and easy to use.